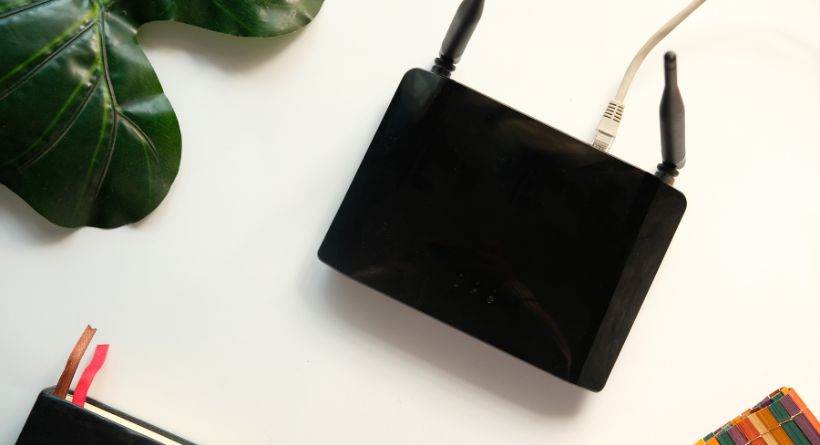
In order to make changes to the router’s configuration, a user must log in to the router’s administrative panel.
Intruders may easily get access to your wireless home network via your router since virtually all default router passwords are public knowledge.
An easy option to improve the security of your home network and individual devices is to change the router’s factory-default password.
1. Open your browser to the configuration page of your router:
Using a web browser, you may access the router’s configuration page and make changes to its settings from any computer on the network. Connecting over Ethernet may be an option if you don’t have access to the Wi-Fi password. Using this method, you won’t have to worry about inputting the Wi-Fi password every time.
Typical router IP addresses are 192.168.1.1, 192.168.0.1, 192.168.2.1, and, for Apple products, 10.0.1.1. Just put this into your browser’s address bar. If this doesn’t work, try holding down the Reset button for 30 seconds to return the router to factory defaults. Next, put the router’s model number followed by “default” into your browser’s address bar to visit the configuration page.
2. Enter your router’s username and password details:
A username and password are required to access the router’s administration interface. Typically, “admin” is the default user name and “password” or “password123” is the default password. In order to get the login information for your individual device, you need visit the manufacturer’s website. Most D-Link routers include admin as the default login and password.
If you have ever changed the login and then forgotten it, or if you have inherited a router and the previous owner never reset it, you will need to press and hold the Reset button on the router for around 30 seconds. After that, you may re-enter the system using the initial username and password. You should know that this will totally replace the existing settings on your router.
3. Open the Wireless section:
When you’ve finally logged into your router, the first thing you should do is access the wireless settings. There should be a wireless button or tab; the exact nomenclature may vary by manufacturer.
4. Change the password:
If you see a field labelled “Password,” “Passphrase,” or “Shared Key,” fill it in. Doing a password reset? Put it in this box. Some routers may ask you to retype the password in order to verify that you entered it correctly.
Ideally, your password should be impossible to guess. To discourage simple guessing, it should include a combination of random integers, upper- and lowercase characters, and symbols like “!”, “$,” and “#.” Most experts agree that a password has to be at least eight characters long to be safe.
5. Set your security type:
As regards wireless security, WEP, WPA, and WPA2 are the three most used protocols. If you want the highest level of security for your network, you should switch to WPA2. Connecting older devices might be tricky, thus WPA or WPA/WPA2 should be used instead. Due to security weaknesses that make it simpler to breach, WEP is not recommended.
6. Save your settings:
After entering your new password, it is recommended that you choose the Apply or Save option for added protection. Following the completion of the configuration changes, the router will immediately cut off all connected devices. After making the required changes, you may log in to your wireless network using the new password.


